 NexGPU-算力租赁,GPU服务器,GPU云算力,AI服务器租用-新闻博客
Rented GPU instances mostly run behind containers and NAT networks, exposing only a single high-numbered SSH port externally. The console doesn't offer a list of ports you can simply check. So "port mapping" in practice comes down to two approaches:
- SSH local port forwarding (tunneling) — no additional ports exposed to the public internet; your local browser hits
http://127.0.0.1:端口and reaches the service inside the instance directly. Choose this for first-time setup, solo use, and debugging. - Platform public port mapping — map a container port to a port on the public IP via the console; anyone with the address can access it. Use this only when you need to demo a WebUI to colleagues or let external applications call your inference API. The trade-off: you have to add authentication yourself.
Both paths share a common prerequisite: first figure out which address and port the service is listening on inside the instance. With tunneling, the service can bind to 127.0.0.1 and still work fine; with public mapping, the service must bind to 0.0.0.0, otherwise the mapping won't connect even if configured correctly. Let's break it down.
Copy these four pieces of info from the console before you start
- The instance's public IP or connection domain
- External SSH port: commonly 2222 or a high port above 20000, usually not 22
- Login username: something like
rootorubuntu - Private key path (or password)
You can find all of these on the instance details page, which usually provides a ready-to-copy connection command. The second item is the most common trip-up: in NAT environments SSH doesn't listen on the default port 22. If you don't explicitly include -p <外部SSH端口> in the command, you'll get a connection timeout or refusal, and many people mistakenly think their key is misconfigured. For key generation and permission issues, see How to SSH into a Rented GPU.
Option 1: SSH local port forwarding
One command does it. OpenSSH has this built in, so nothing needs to be installed on either your local machine or the instance:
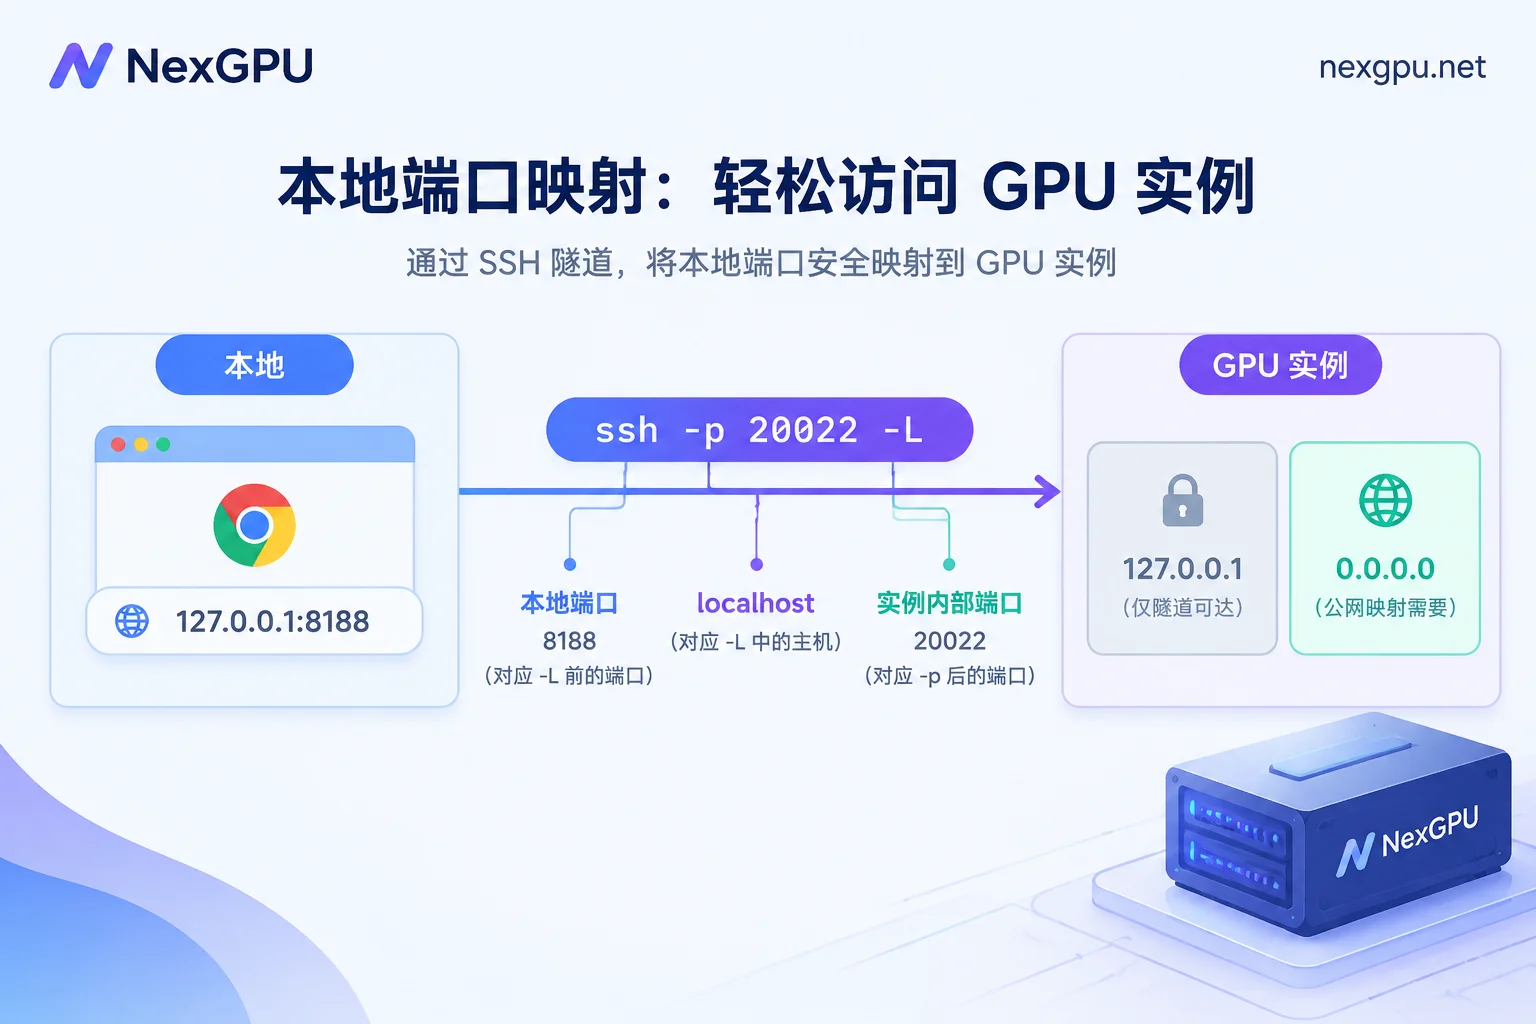
ssh -p 20022 -L 8188:localhost:8188 -i ~/.ssh/id_ed25519 -N [email protected]What each part means:
-p 20022: The instance's external SSH port — replace with the one shown in your console-L 8188:localhost:8188: The first number to the left of the colon is the local port on your machine; the middlelocalhostis the address resolved on the instance; the last number is the internal port of the service-i: Path to your private key-N: Only creates the tunnel, no interactive shell; drop it if you also want a shell session
Once the command runs, the terminal will sit there quietly (that's normal behavior for -N). Open http://127.0.0.1:8188 in your browser and you'll see ComfyUI running on the remote GPU.
Common port references: Jupyter 8888, ComfyUI 8188, vLLM or FastAPI 8000, TensorBoard 6006. To forward multiple ports at once, list multiple -L flags:
ssh -p 20022 -L 8888:localhost:8888 -L 8188:localhost:8188 -L 8000:localhost:8000 -i ~/.ssh/id_ed25519 -N [email protected]If your local port is already taken (say you already have a local Jupyter on 8888), just change the left-side number while keeping the right side as the actual internal port: -L 18888:localhost:8888, then visit 127.0.0.1:18888.
Windows: PowerShell has a built-in OpenSSH client, so the above commands work as-is. If you prefer PuTTY, go to Connection → SSH → Tunnels, fill in Source port (local) and Destination (localhost:8188), select Local, then Add.
Keep the tunnel and service alive longer: When the tunnel drops, the service inside the instance doesn't necessarily die — provided it's running in tmux, screen, or nohup. If you started ComfyUI in the foreground of an interactive SSH terminal, it will exit when SSH disconnects. The reliable sequence is: SSH in, start the service in tmux, exit; then open a separate -N tunnel command. If the tunnel itself drops, just re-run the command. Adding -o ServerAliveInterval=60 to SSH reduces idle disconnections.
When using a tunnel, it's perfectly fine for the service to keep its default 127.0.0.1 binding, because requests originate from the instance's internal loopback address. That's also what makes it secure: no new ports are exposed to the public internet. For Jupyter startup and token retrieval details, see How to Launch Jupyter on a GPU Cloud Server.
Option 2: Public port mapping via the console
If your platform supports mapping container ports to public IP/ports, configure the mapping in the instance details or during creation (container port 8188 → some external port). Once you have the address, access it directly in your browser. The key here isn't the console step — it's the service's listening address.
The mapping works only if the service inside the container listens on 0.0.0.0 (all network interfaces). If it's bound only to 127.0.0.1, requests from outside the container — and from the host's network namespace — will be dropped outright. The mapping looks correctly configured, but access is refused.
Common tools have inconsistent default behaviors, so you need to add parameters individually:
- ComfyUI defaults to listening on
127.0.0.1; add--listen 0.0.0.0for external access - Jupyter add
--ip=0.0.0.0(usually also--allow-root) - vLLM / FastAPI / TGI and similar services add
--host 0.0.0.0 - Ollama is controlled via the environment variable
OLLAMA_HOST=0.0.0.0
Remember to restart the service after changing these — parameters are only read at startup.
Public exposure means you need to secure it yourself. Once a port is open, scanners will find it quickly, and these tools' default security assumption is "local access only":
- ComfyUI has no login authentication; running it naked on the public internet is handing over file browsing and execution capabilities on that GPU.
- For Jupyter, don't use options like
--NotebookApp.token=''that disable verification; keep the token or set a password. - For vLLM's OpenAI-compatible API, enable
--api-key; otherwise anyone can run inference on your GPU, and the compute and bandwidth costs land on your bill.
Restrict source IPs when you can; if it's just a temporary demo, remove the mapping when done.
How to choose between the two
- Personal debugging, running ComfyUI for image generation, Jupyter coding → tunnel. Zero config, zero exposure.
- Colleagues or clients need to open the WebUI, or external programs need to call your
/v1/chat/completions→ public mapping with an API key. - Long-term service-to-service calls, scripted automation → public mapping is more convenient; tunnels must be re-established each time.
- When unsure, start with a tunnel to confirm the service itself works, then decide whether to expose it publicly. Doing it in reverse makes troubleshooting painful: you can't tell whether the mapping didn't take effect, the service didn't start, or the binding address is wrong.
Troubleshooting order when you can't connect
- SSH itself times out or is refused: Almost always a wrong port. Confirm that the number after
-pis the external port from the console, not 22. Also check that the key matches and the local private key permission is 600. - Tunnel is up but browser won't open: First confirm the service is actually running. SSH into the instance and run
curl -I http://127.0.0.1:8188. A response means the service is fine and the issue is in the forwarding config; no response means the service isn't started or has changed ports — check the startup logs for the actual listening port. bind: Address already in use: Local port is occupied; change the number to the left of-L.- Public address won't open but the tunnel works: Classic case of the service bound to
127.0.0.1. Add the corresponding--listen 0.0.0.0/--host 0.0.0.0and restart. - Page opens but features misbehave (Jupyter repeatedly asks for a token, WebSocket disconnects): Get the token from the service startup logs. For WebSocket-related issues, prefer the tunnel approach — fewer forwarding layers means fewer variables.
- Ports don't match: The image's built-in startup script may have changed the default port. Trust what's printed in the logs, not the documentation numbers.
Using one-click deployment image templates can save some of this hassle — templates for ComfyUI, vLLM, PyTorch, Jupyter, etc., have startup parameters and ports pre-configured, and the instance details page will state which port the service runs on. You can browse by task on NexGPU's image template page. For guidance on choosing templates, see How to Choose a Cloud GPU Image Template; for vLLM server parameter details, see Llama Model Deployment in Practice.
Two boundaries: cost and data
Port mapping and SSH tunneling aren't separate billing items. NexGPU's bill has only three components: compute, storage, and traffic. Port-related impact falls under traffic: after public mapping, others accessing your WebUI or downloading your generated videos counts as outbound traffic. Tunneling also uses traffic, just typically at a smaller scale.
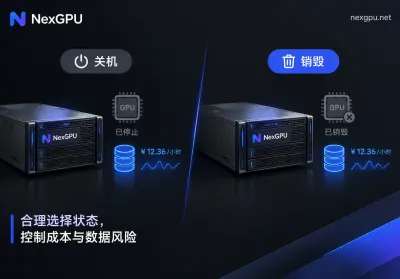
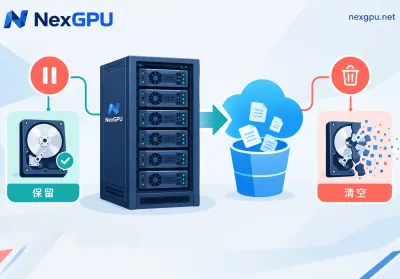
More importantly, don't mistake "closing the tunnel" for "shutting down". Ctrl+C in the terminal kills the tunnel, but the instance is still running and compute charges keep accruing. After you stop the instance, compute charges stop, but storage fees continue. Only destroying the instance stops all billing. So after a debugging session, be clear about whether it's "I'll continue later" (stop, keep data, pay for storage) or "this task is done" (pull results locally, destroy). Billing details and available nodes can be found on NexGPU's pricing page. The unit price is locked at order time until destruction.
Pulling files locally doesn't require opening additional ports. scp and rsync reuse the same SSH channel. Remember to also include -P (use uppercase P for scp) to specify that high port:
scp -P 20022 -i ~/.ssh/id_ed25519 [email protected]:/workspace/output/result.mp4 ./Before destroying an instance, gather all outputs other than model weights, plus modified configs and scripts, into one directory and pull them in a single transfer. It's far easier than trying to recover them later.


Comments(0)